Release Summary
CCC Report Center Upgrade
The CCC Report Center has been upgraded from JasperReports Server 4.7 to 5.6.1, bringing improved functionality to the existing user interface (UI). With minor changes to the look & feel, some of the changes are listed below:
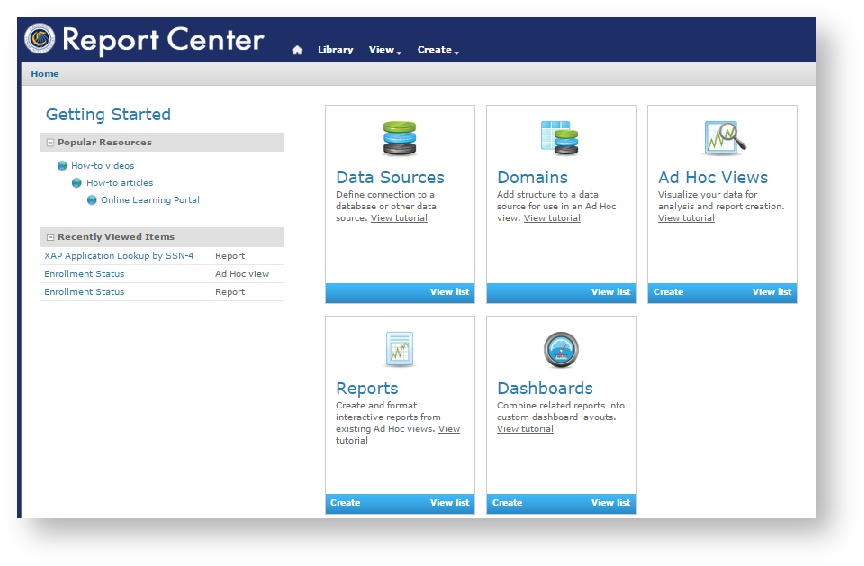
New Home Page
The new production CCC Report Center homepage will have a similar look & feel to the QA environment colleges have been using for the past six months. One major different is there are more icons present and colleges will need to chose Reports or Ad Hoc Views from the icon list (see "View List" in the lower right hand corner of each icon). Permissions have been set so that colleges cannot alter or delete Data Sources or Domains.
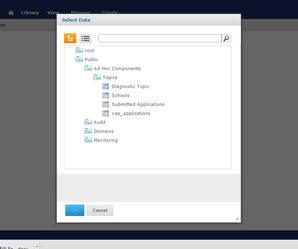
Creating an Ad Hoc View: Selecting A Data Source
When creating a new Ad Hoc View, please note that there are a few differences in selecting the data source. Please see the screen shot below for the correct folders to choose to reveal the data sources included. Note: The BOG submitted applications do not appear in the image below; however, they will appear in the folder tree when creating your Ad Hoc View.
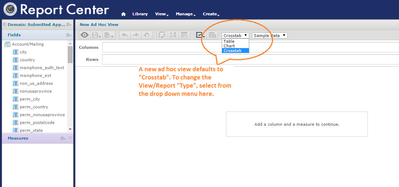
Creating an Ad Hoc View: Choosing the Table Type
Once you choose your data source, the Ad Hoc Editor will appear. Unlike the previous version, the new View will default to a "Crosstab" type report. To create a detail report, select "Table" from the Type drop down menu, as shown below.
New Features:
District-level User Accounts
Authorized district-level users can now run reports on multiple colleges data within the same district.
Schedule recurring reports based on a relative date filter
Recurring reports can be scheduled to include data based on a relative date range.
"Save As" Templates
Reports can now be saved as templates in the Repository.
Upgrade to a District-level User
To upgrade an existing account to District-level Authorization:
- A user with 'Add User' authority can log into the Administrator tool and select "Report Center" from the Application drop-down menu. Select your college from the College drop down menu. The User tab will appear.
- Place a check mark next to the user account to be edited and it will appear in the add user field on the left.
- Change the college to the District from the College menu (District MIS codes end in "0").
- Click on "update" button.
- Navigate to the CCC Report Center and log in. District users will now be able to see reports and data from all colleges in that district.
↑ top