| Panel | ||||||
|---|---|---|---|---|---|---|
| ||||||
CCC Data Warehouse Report Server v7.8 Last Update: June 2022 |
...
College and District Institutional Researchers: An identified lead IRPE Researcher at each college or district will be established as the authorized user and “gatekeeper” for their institution (organized by MIS Code) upon confirmation from their college or district Vice President. These “gatekeepers” can then request access for additional researchers at their institution by submitting an email request to ES Support Services or by contacting their College Relationship Manager (CRM) with the information below.
Chancellor's Office & Other External Stakeholders: All requests for access to the Data Warehouse Report Server from the CCC Chancellor's Office or other external stakeholder organization are to be directed to the CCC Data Warehouse Product Manager (Mark Cohenmcohen@ccctechcenter.org)who must obtain approval from the Vice Chancellor for Digital Innovation & Infrastructure at the CCC Chancellor’s Office.
| Panel | ||||||
|---|---|---|---|---|---|---|
| ||||||
Process for IRPE Gatekeepers to Request Additional Users |
...
Getting Started
Establishing an authorized DWRS user account is a two-part workflow between a CCCTC Administrator and the approved user. An Enabling Services Implementation Configuration Engineer (ICE) will create and configure the account in our internal system and then work with the user to complete the final steps and login, depending on the user type. This section of the document outlines the roles and responsibilities - and setup tasks - for the CCCTC Administrator and the approved DWRS user.
...
User Types & Access Levels
User Type | Authentication | Authorized Access Level | |
College User | SSO User | SSO access via college/district IdP | Single college access to available data sets based on College MIS Code |
District User | SSO User | SSO access via college/district IdP | Multi-college access to available data sets based on District MIS Code |
Chancellor's Office User | Non-SSO User | Direct access (non-IdP) via two-factor authentication (2FA) | Access to all data sets across all colleges |
CVCOEI User | Non-SSO User | Direct access (non-IdP) via two-factor authentication (2FA) | Access to CVCOEI report but no actual data (can see tables and columns in AdHoc view, but no data populates) |
CCCTC Administrator | Non-SSO User | Direct access (non-IdP) via two-factor authentication (2FA) | Access to the internal system administration console to facilitate account creation & configuration. |
| Panel | ||||||
|---|---|---|---|---|---|---|
| ||||||
College & District SSO Users - : See Appendix A: Data Warehouse Report Server URLsfor your custom IdP URLsURL. |
Set Up & Log In Processes
...
The authorized user has followed the Getting Started tips and has coordinated with CCCTC Enabling Services to begin the account creation and configuration process based on their user type and access level.
The account has been configured with the appropriate roles, attributes, and - for SSO Users only - their institution’s IDP link.
SSO Users have received their unique college or district URL, configured to their IDP, and know their single sign-on credentials provided to them by their college or district’s IT department.
Non-SSO Users have received their account credentials and temporary password from CCCTC Administrator, have installed the authentication app software, and have completed the “First-Time User Log In” process (setup and verification tasks) required to facilitate two-factor authentication at the generic DWRS URL.
...
SSO Users: Account Setup & Log In Process
Colleges & Districts
The User coordinates with the Enabling Services implementation team and receives acknowledgment that their account has been created with the appropriate roles and attributes, and the IDP has been linked.
The User is directed to the appropriate URL for their IDP and logs in.
The User is authenticated through their institution IDP (SSO) and is logged in to the DWRS.
...
Non-SSO Users: Account Setup & Log In Process
All Other Users
The User coordinates with the Enabling Servicesimplementation team and receives account credentials and user setup information via secure method (i.e., Privnote).
The User downloads and installs a compatible authentication software on their desktop or mobile device.
The User completes the “First-time User Log In” process, which enables entry of account credentials, one-time QR code verification, and authentication to the DWRS.
Optional: After logging in, the User may update their temporary password using the Forgot Password? link to reset their password.
...
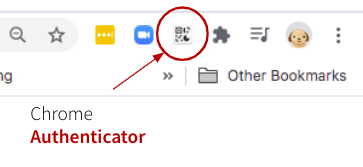
Authenticator for Mac and Windows Chrome browsers is available free from the Chrome Web Store. This app installs very quickly to your desktop (recommended) as well as your phone, and includes a lot of great features that promote security and usability. NOTE: The entire download and install process takes less than one minute. You may need local IT authorization and assistance to install it if policy requires this.
| Expand | |||||||||||
|---|---|---|---|---|---|---|---|---|---|---|---|
| |||||||||||
To Install the Chrome Authenticator:
|
...
Another user-friendly option, especially for users who want to use their mobile device for authentication, is the Google Authenticator; a free app available from the Google Play Store.
| Expand | |||||||||
|---|---|---|---|---|---|---|---|---|---|
| |||||||||
Google Authenticator is compatible with multiple different mobile devices, operating systems, and browsers. The process for downloading and installing can be found here. 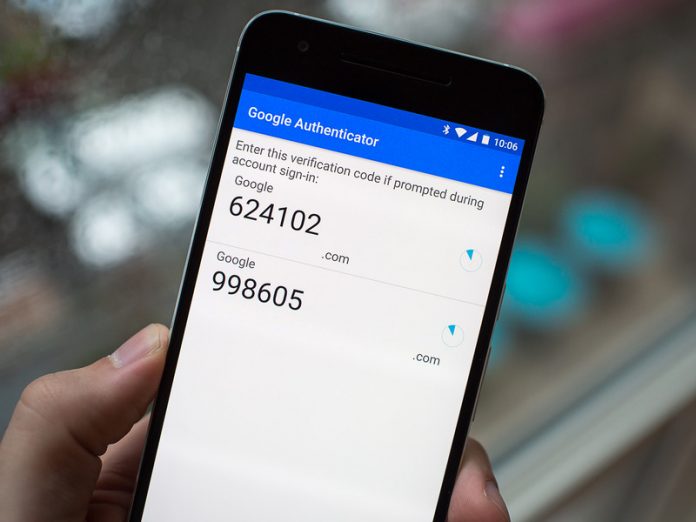
|
...
The User has the Data Warehouse Report Server URL (http://dw-reports.ccctechcenter.org/).
The User has received their account credentials and temporary password from the CCCTC Administrator.
The User has installed and configured a compatible authentication software app on their desktop and/or mobile device.
| Expand | |||||||||||||||||||||||||||||||||||||
|---|---|---|---|---|---|---|---|---|---|---|---|---|---|---|---|---|---|---|---|---|---|---|---|---|---|---|---|---|---|---|---|---|---|---|---|---|---|
| |||||||||||||||||||||||||||||||||||||
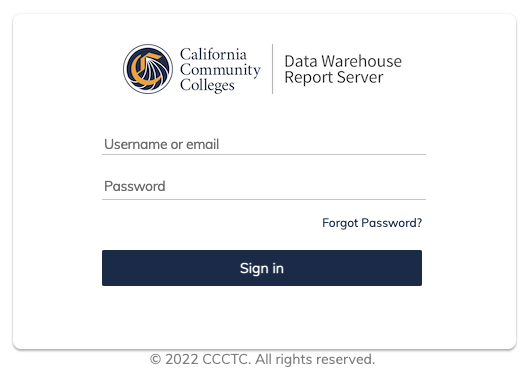
Step 1: Enter Your Account Credentials on the Log In Page
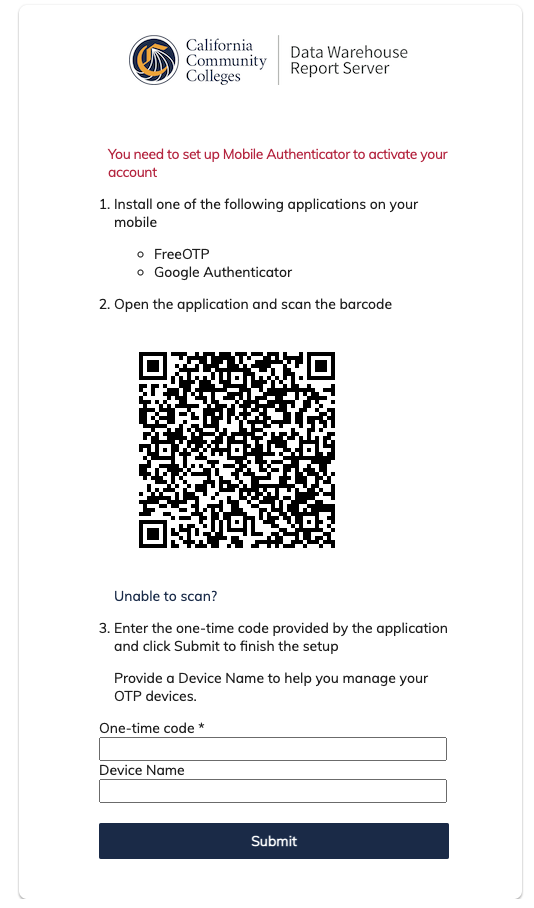
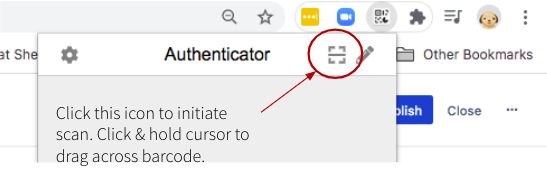
Step 2: Scan the QR Code Page
|
...
To run a report, click the name of a report in the repository. For example, click DW LGBTQ Report. The report appears in the Report Viewer.
...
On the Home page, click Create in the Reports block. The Create Report wizard opens.
Select the Ad Hoc view you want to use as the basis for your report.
Select a report template. To use a template other than the default, select Custom Report Template, click Browse and select the desired template. See Report Templates for more information.
Click OK. If asked, enter the input controls needed. See Using Input Controls.
You can now begin working with your report.
...
| Panel | ||||||
|---|---|---|---|---|---|---|
| ||||||
Creating Filters with Relative DatesYou can filter information in your view based on a date range relative to the current system date. You can accomplish this using date-based filters, and entering a text expression describing the relative date or date span you want to display, using the format <Keyword>+/-<Number> where:
For example, if you want to see all of the CC Promise Grant Applications submitted during the prior week, your expression would be: WEEK-1. |
...