| Panel | ||||||
|---|---|---|---|---|---|---|
| ||||||
This guide is for the Data Warehouse Report Server (CCC Data 2.2.0) released to production on January 27, 2023. |
...
Establishing an authorized DWRS user account is a two-part workflow between a CCCTC Administrator and the approved user. An Enabling Services Implementation Configuration Engineer (ICE) will create and configure the account in our internal system and then work with the user to complete the final steps and loginlog in, depending on the user type. This section of the document outlines the roles and responsibilities - and setup tasks - for the CCCTC Administrator and the approved DWRS user.
...
SSO Users: Colleges and Districts using their institution’s IDP for single sign-on. The institution’s login log in may include two-factor authentication (2FA), but this SSO mechanism is not managed by the CCCTC.
Non-SSO Users: CCCCO, CVCOEI, and other authorized external users will authenticate directly to the DWRS using 2FA to secure and protect our systemwide student data.
...
The process for account setup and login log in will be different depending on user type, access level, and the mechanism used to authenticate. Working with an Implementation & Configuration Engineer (ICE) from the CCCTC Enabling Services team to set up and configure your account, college & district users (SSO Users) will be provided a custom URL configured to your institution’s MIS code and internal IdP link. Non-SSO Users will be directed to the DWRS directly to log in and complete additional setup & verification tasks to facilitate authentication.
Below is an explanation of the setup process followed by summaries of the login log in process for each of the two authentication methods.
...
| Expand | |||||||||||
|---|---|---|---|---|---|---|---|---|---|---|---|
| |||||||||||
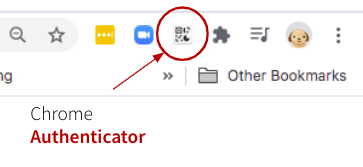
To Install the Chrome Authenticator:
|
Google Authenticator App for Mobile Device
...
| Expand | |||||||||
|---|---|---|---|---|---|---|---|---|---|
| |||||||||
Google Authenticator is compatible with multiple different mobile devices, operating systems, and browsers. The process for downloading and installing can be found here. 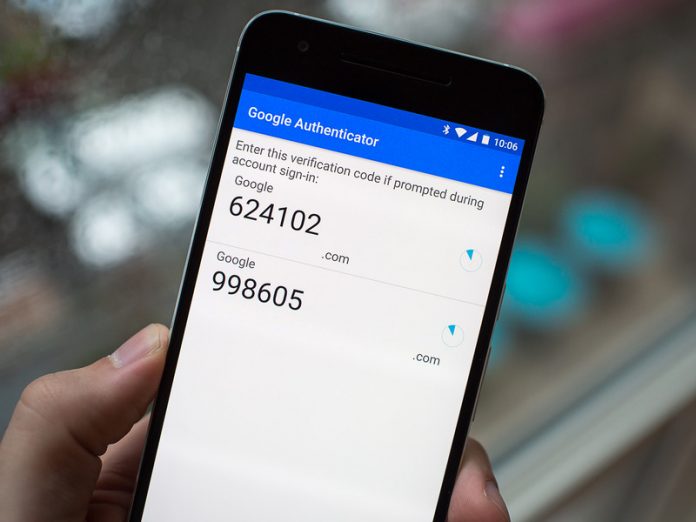
|
| Panel | ||||||||
|---|---|---|---|---|---|---|---|---|
| ||||||||
Suggestion: Although any six-digit TOTP compatible authentication software should work for the Report Server User Account, the tools that we’ve found to be most user friendly are: Chrome Authenticator for desktop use and Google Authenticator for mobile devices. Both are free downloads and both can also be used together. |
| Panel | ||||||
|---|---|---|---|---|---|---|
| ||||||
NEXT: Start the “First-Time User Log In” process below to initiate the authentication process and log in. |
...
For Non-SSO Users Only: The first time a new user attempts to log in to the DWRS they must establish the connection between their user account credentials, a shared secret key (QR Code), and the authentication software to enable the two-factor (2FA) login log in authentication.
Pre-requisites:
...
For Non-SSO Users Only: After the user completes the one-time “First-Time User Log In” process, the user is “verified” and will not have to repeat the Scan the QR Code Page stepagain UNLESS they need to re-install their authentication software and/or generate a new QR code. For all subsequent loginss, the verified user needs only to enter their account credentials and the verification code retrieved from their authenticator app.
...
The user refers to their authenticator app to retrieve their Verification code within 30 seconds of making the request (clicking on Sign In button on Log In screen).
Verification Code: Enter the code from the authenticator app into the “One-time code” field.
Click the “Sign in” button to complete the log in process and access the DWRS.
Password Reset Process
To update an existing password:
Navigate to the Data Warehouse Report Server sign-in page.
Click on the “Forgot Password?” link.
...
3. Enter the email address you used to create your account, then click Submit.
...
A confirmation message appears on the screen directing you to retrieve an email.
...
4. Open the Reset Password email, click the embedded link to go to the Update Password page.
...
Enter your new password in the New Password box. Confirm your new password, then click Submit to return to the Sign In page.
...
...
Appendix A: Data Warehouse Report Server URLs
...
On the Home page, click Create in the Reports block. The Create Report wizard opens.
Select the Ad Hoc view you want to use as the basis for your report.
Select a report template. To use a template other than the default, select Custom Report Template, click Browse and select the desired template. See Report Templates for more information.
Click OK. If asked, enter the input controls needed. See Using Input Controls.
...
| Panel | ||||||
|---|---|---|---|---|---|---|
| ||||||
Creating Filters with Relative Dates You can filter information in your view based on a date range relative to the current system date. You can accomplish this using date-based filters, and entering a text expression describing the relative date or date span you want to display, using the format <Keyword>+/-<Number> where:
For example, if you want to see all of the CC Promise Grant Applications submitted during the prior week, your expression would be: WEEK-1. |
...